To quickly perform a camera focus distance adjustment while keeping the eye-tracker in place you can use the method described on this page. For a proper camera focus distance calibration please read Calibrating camera focus distance instead.
Prepare focus calibration stick
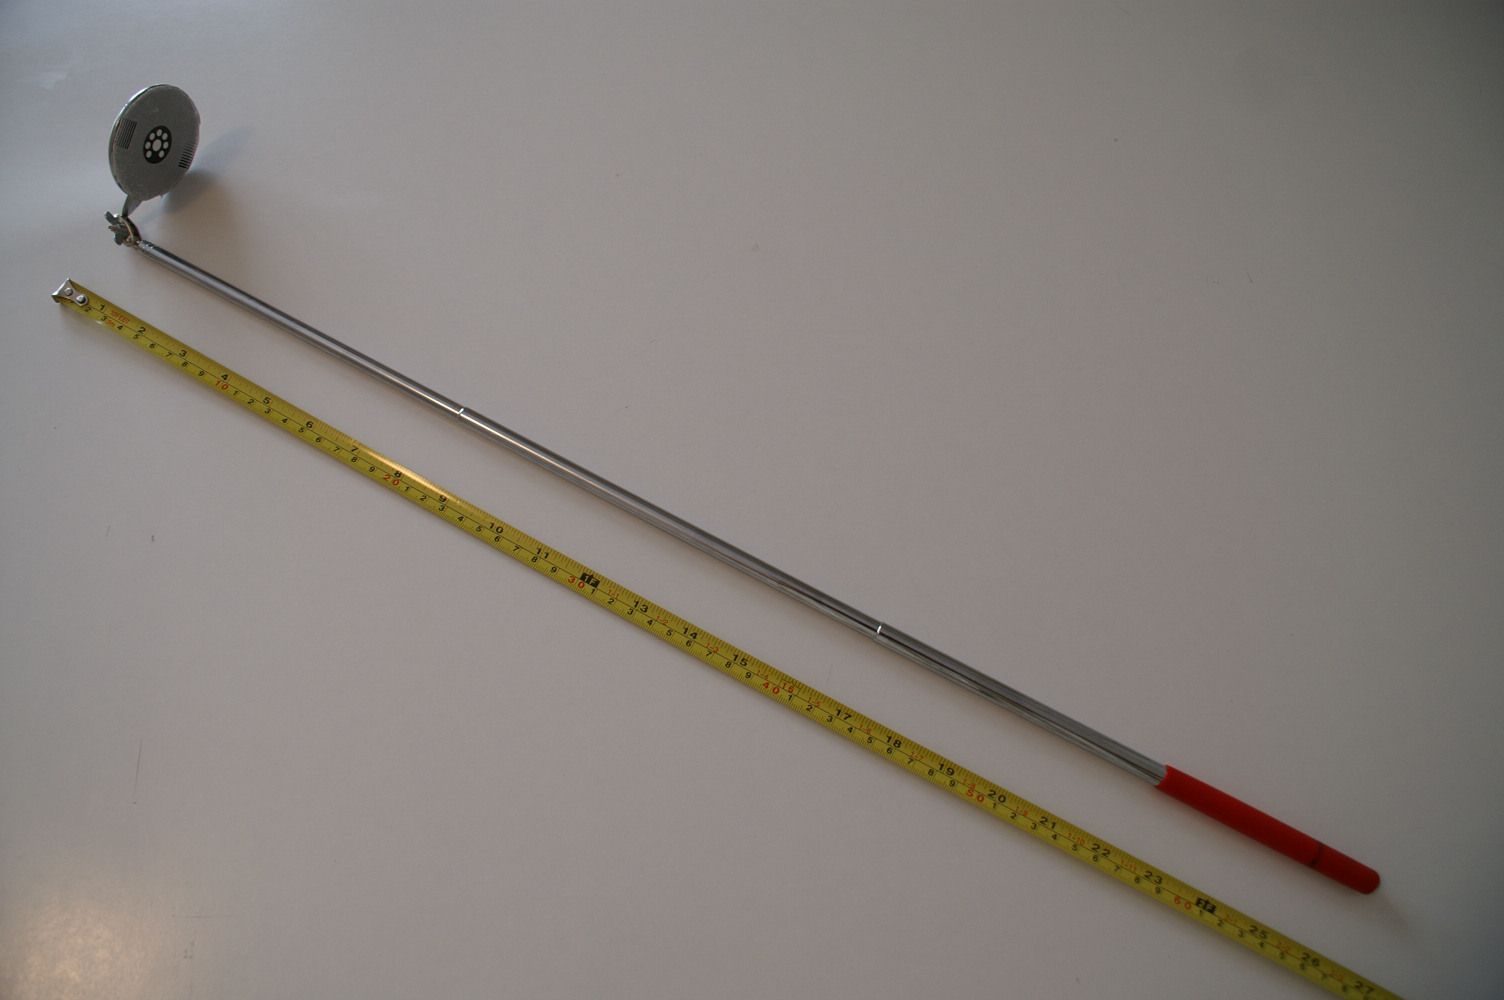
Purchase a 700mm (or longer) telescopic inspection mirror (see photo).
Print out the Focus Calibration Marker. This is a one page PDF document showing a gray area with an EyeVec marker on it. Print it at 100% scale. The marker diameter should be 20.0mm.
Cut out the EyeVec marker, keeping as much gray around it to cover the inspection mirror surface (use the front side or the back side, whichever is most suited). Glue the cut-out onto the inspection mirror.
Extend the calibration stick so the distance between the marker and the end of the stick is the desired focus distance plus 30mm. For the R1 this means 600+30=630mm. For the R2 this means 650+30=680mm.
Hold focus calibration stick against eye-tracker
Start the eyevec-control program. Double-check the subject distance in the Setup page. Make sure the camera lens focal length setting is set to default (or accept the current value if you know it is probably pretty close). In case you changed a setting hit Save and restart the application.
In the Participant page disable detection of both eyes. In the Settings page disable face blob detection and enable marker detection.
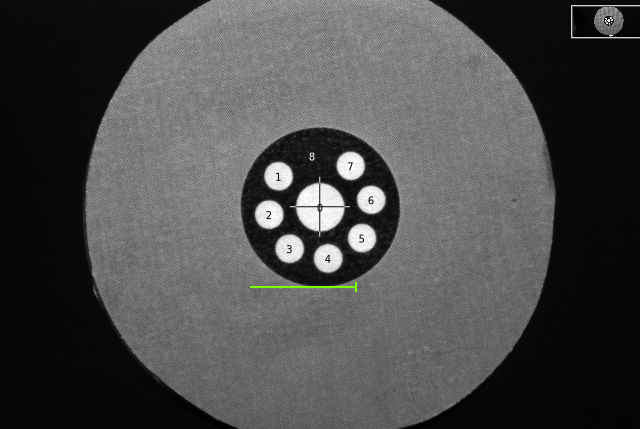
Go back to the Camera page and hit Ctrl+f to enable display of the marker sharpness indicator.
Place the base of the focus calibration stick on the eye-tracker front panel next to the camera (don’t push too hard, don’t let your hand obscure the image). Make sure the marker is in view.
Adjust camera focus
Underneath the marker symbol in the camera image you’ll see a bright green line. The length of this line represents image sharpness.

Loosen the camera focus ring fixation screw. Adjust the focus ring to maximize the sharpess indicator. Then gently tighten the camera focus ring fixation screw.
When done hit f to turn off display of the marker sharpness indicator.

